The first time I tried fish cutlets I thought I’d accidentally set my mouth on fire. I hadn’t yet acclimated to Sri Lankan levels of spiciness (read: extremely spicy) and I was expecting cutlets similar to, you know, Iranian kotlet. The next thing I knew I was downing ice water in a futile attempt to revive my taste buds.
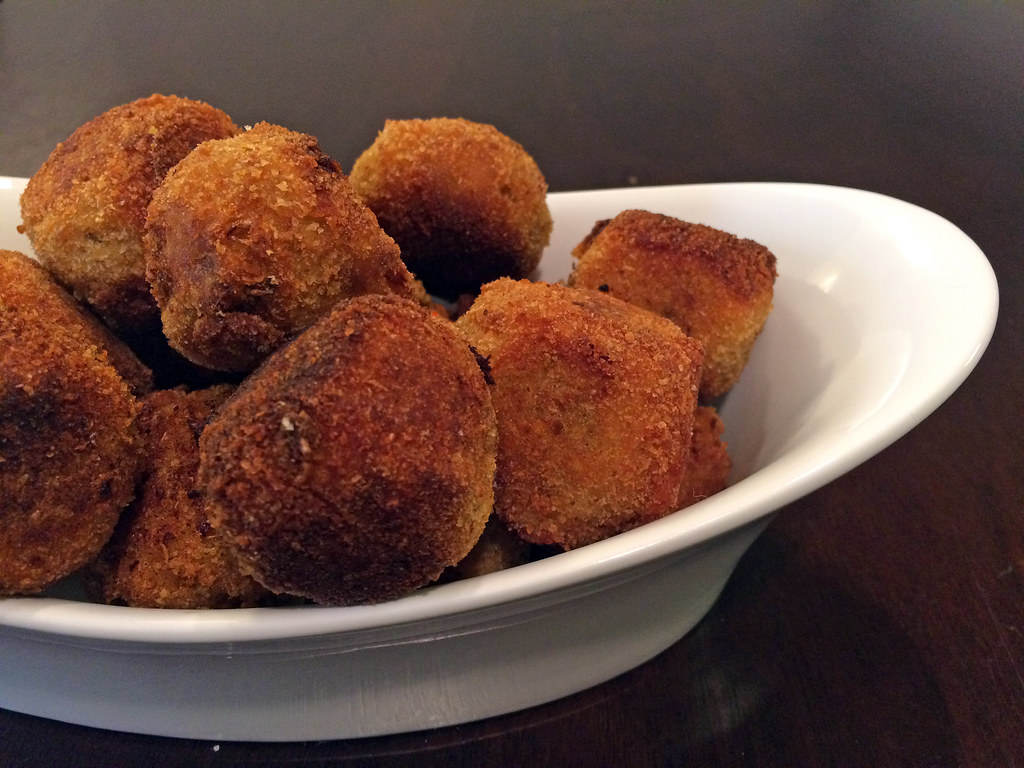
Fast forward a few years and I can pop these cutlets like no one’s business. They’re delicious, and lucky for you, dear reader, you can adjust the chile level according to your own preference. Fish cutlets are easy to make and are perfect as an appetizer. I like to serve them alongside Iranian yogurt with cucumbers and mint (mast-o-khiar) as a cooling dip.
Ingredients:
1 potato, peeled and diced
2 tablespoons vegetable oil plus additional for frying
1 onion, chopped
2 cloves garlic, minced
2 inch piece ginger, minced
2 green chiles, chopped
1 sprig curry leaves
1 can tuna
1 teaspoon cayenne powder
1 tablespoon ground coriander
1 tablespoon ground cumin
1/2 tablespoon ground fennel
1/4 teaspoon ground turmeric
1/2 teaspoon ground black pepper
salt to taste
1 lime, juiced
1 egg, beaten
2 cups breadcrumbs
1. Boil potato in water until soft, about 10 minutes. Drain.
2. Heat two tablespoons oil in a pan. Saute onions until translucent. Add garlic, ginger, green chiles, and curry leaves and saute for 5 minutes, until lightly browned.
3. Add tuna, potatoes, cayenne pepper, coriander, cumin, fennel, turmeric, black pepper, and salt. Mash potato with the back of a wooden spoon while tossing ingredients in pan. Add lime juice, saute for 3 minutes, and set aside to cool.
4. Using your hands, form filling into 2 inch-size balls. Beat egg in a bowl and dip balls into mixture. Spread out breadcrumbs in a shallow bowl and coat cutlets with breadcrumbs.
5. Heat oil in a deep pan to 350 degrees. Oil should be deep enough to shallow fry the cutlets. Fry cutlets until golden brown, turning occasionally to evenly brown. Remove cutlets with a slotted spoon and drain on paper towels. Serve warm or room temperature.