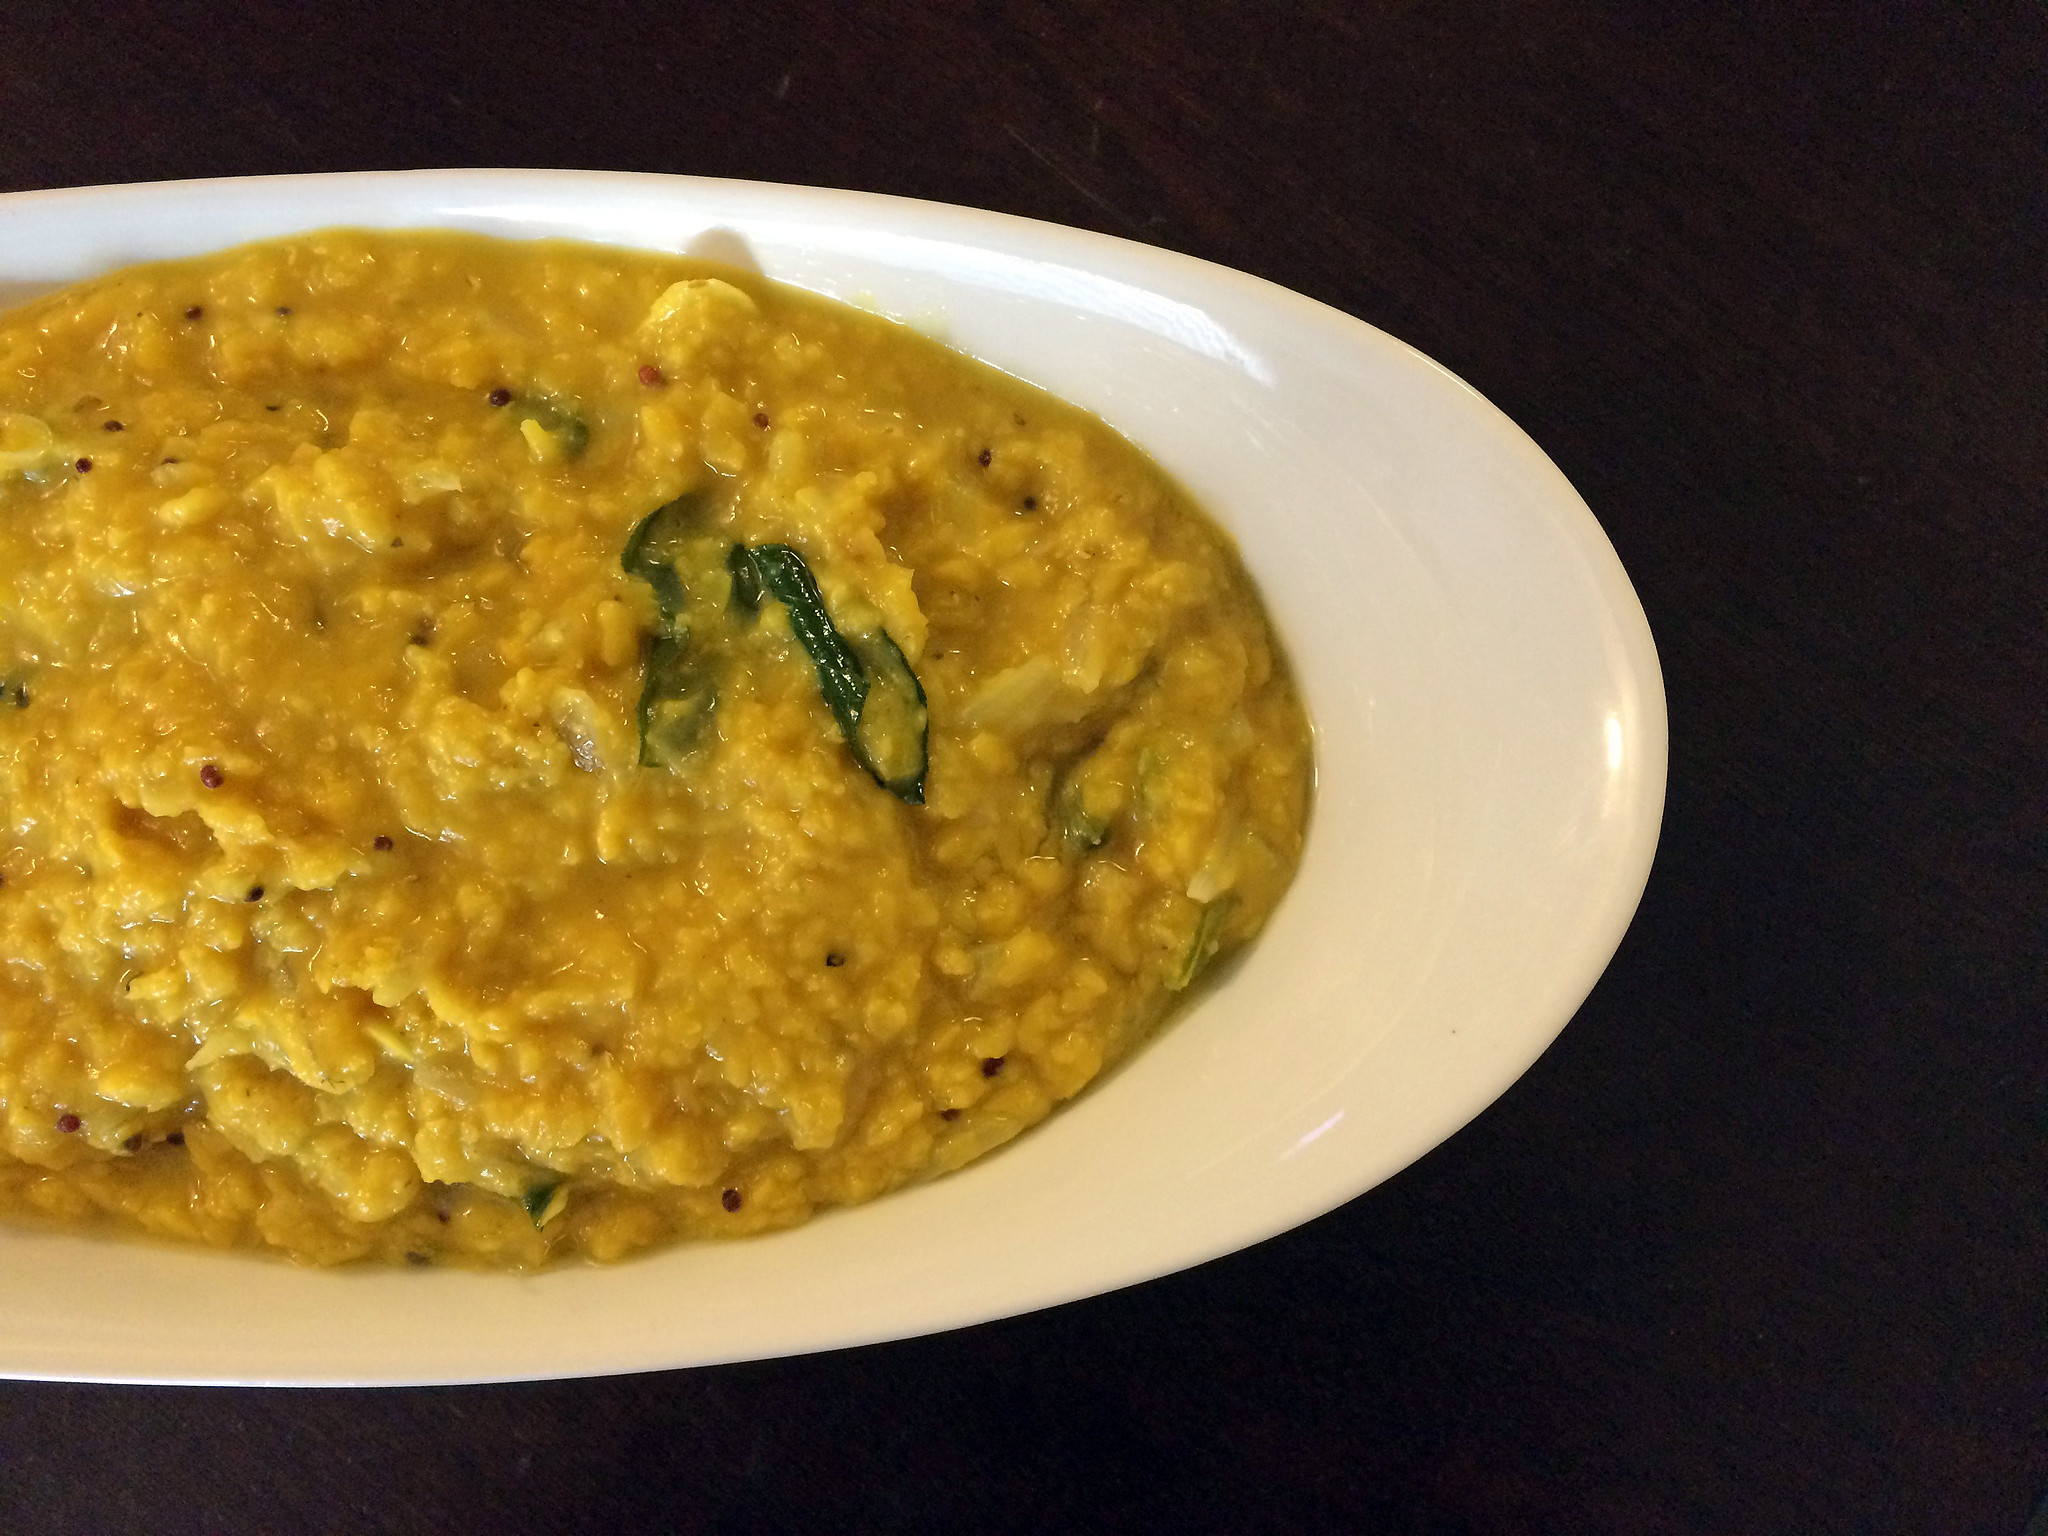
Seeni sambol is meant to be eaten as a condiment, but I love this sweet and spicy onion relish so much that I eat it straight out of the container. No shame.
Like its Southeast Asian cousin sambal, Sri Lankan sambols are part of a larger meal, alongside dishes like hoppers or rice. This is my favorite sambol. It’s easy to make but takes patience: lots of stirring and doting over a pan of slowly caramelizing onions, Maldive fish, chili powder, curry leaves, and sugar. Feel free to adjust the amount of pepper to your preference.

Ingredients:
2 tablespoons oil
1 pound red onions, chopped
5 cloves garlic, minced
2 inch piece ginger, finely chopped
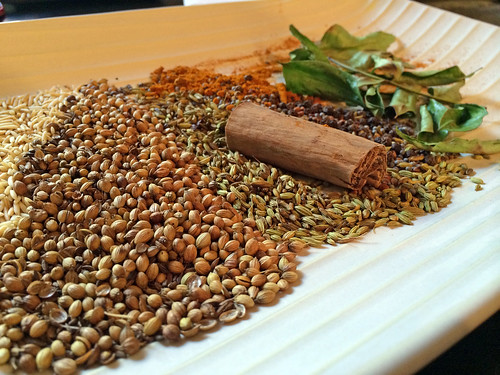
1 sprig curry leaves
4 cardamom pods
4 cloves
2 inch cinnamon stick
1 teaspoon salt
1 teaspoon cayenne pepper
1/3 cup Maldive fish
5 tablespoons tamarind pulp, softened in 1/2 cup hot water
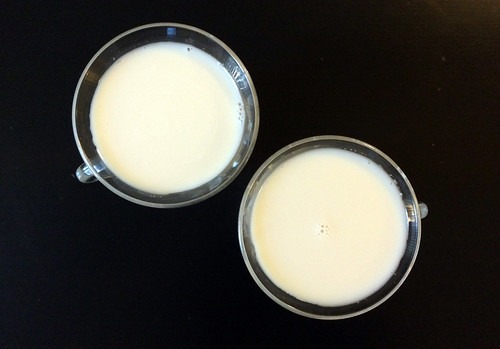
1/4 cup coconut milk
juice of 1/2 lime
2 teaspoons sugar
1. Strain softened tamarind pulp in a sieve, discarding solids. Mix tamarind pulp into coconut milk and set aside.
2. Heat oil in pan. Fry onions, garlic, ginger, and curry leaves until onions are golden brown.
3. Add cardamom, cloves, cinnamon, salt, cayenne pepper, Maldive fish, tamarind-coconut mixture, and lime. Cook, uncovered, on low heat for about 40 minutes.
4. Add sugar and mix well. Remove from heat, cool, and store in a glass container in the refrigerator for up to a week. Serve at room temperature.