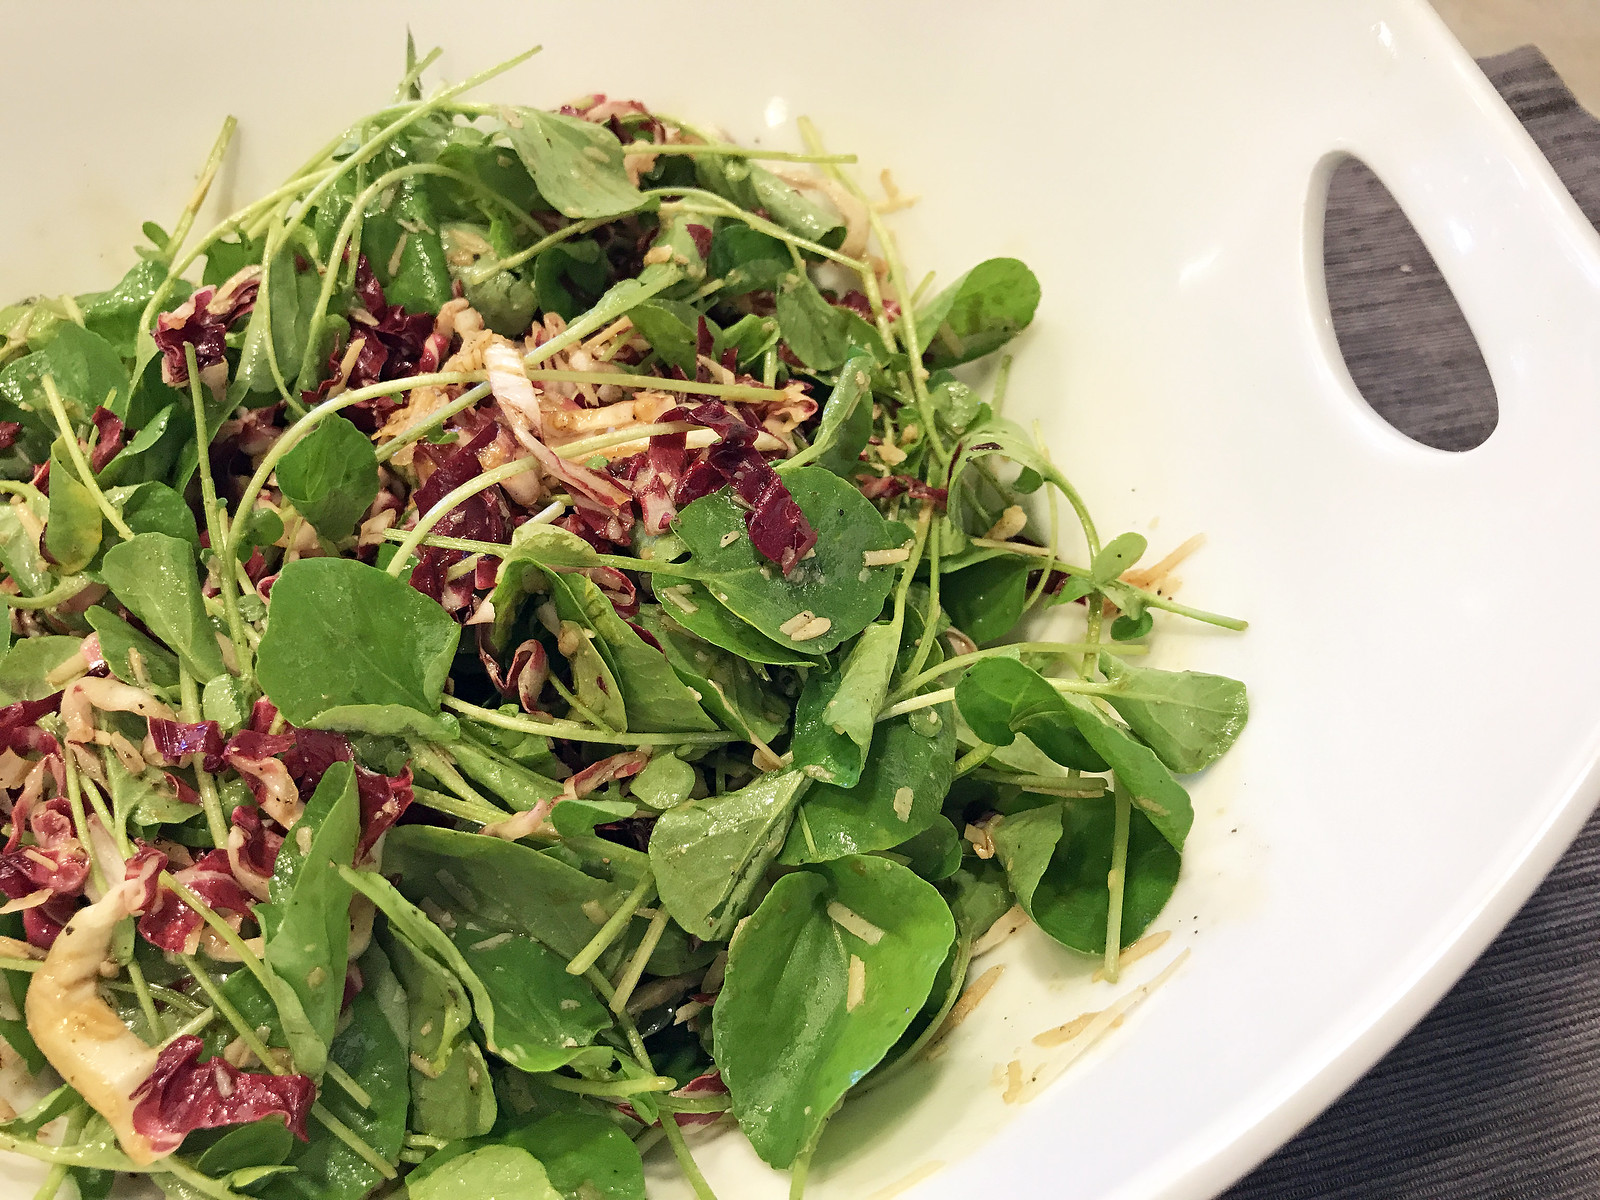
This simple salad is my new go-to when the weather starts getting chilly: it hits all the right notes: savory, earthy, and bitter, with a hit of acidity to boot. Hearty radicchio adds heft and a sprinkling of Parmesan cheese makes this salad go faster than you’d expect.
Make a double portion of this one and thank me later.
1. In a large bowl, toss together the arugula, radicchio, and Parmesan cheese. Dress with vinegar, olive oil, and salt and pepper to taste. Lightly toss again and serve with a little bit of extra grated Parmesan cheese on top.
The weather is getting chillier these days, the mornings foggier, and I’m layering again, Bay Area-style. In other words, the temperature has dropped below 75 degrees and I’m freezing. I’m also craving heartier food, like meatballs and leafy greens. I can turn on the oven in this weather too, which is perfect, because quite frankly, I’ve always kind of sucked at stovetop meatballs. But oven-baked? I’m a pro.
These oven-baked beef meatballs are among my favorites to prepare. No red sauce here: just the meatballs, sauteed kale and radishes, and a couple of secret ingredients: garam masala and miso. That’s right. You’d never guess it, but a dollop of salty-sweet white miso and a sprinkling of warm spices gives these meatballs an extra depth.
Cold weather isn’t so bad after all.
Ingredients:
1 egg
4 garlic cloves, 2 finely grated, 2 thinly sliced
3 tablespoons white miso
3 tablespoons milk
1 1/2 teaspoons garam masala
1 teaspoon salt
3/4 cup Pecorino, finely grated
3 tablespoons panko breadcrumbs
1 pound ground beef
2 bunches Tuscan kale, ribs and stems removed, leaves torn
3 teaspoons olive oil, divided
8 radishes, trimmed, halved lengthwise
1 tablespoon lemon juice
1. Preheat oven to 400F degrees. Whisk egg, grated garlic, miso, milk, garam masala, and 1 teaspoon salt in a large bowl. Mix in Pecorino and panko. Add beef gently mix with your hands just until all ingredients are evenly incorporated (do not over-mix).
2. Working one at a time, scoop out 2 heaping tablespoons mealtball mixture and roll into balls between your palms. Place on a foil-lined rimmed baking sheet, spacing 2 inches apart. Bake meatballs until lightly browned on top and cooked through, about 25 minutes.
3. Meanwhile, heat 2 teaspoons oil in a large skillet over medium-high. Add radishes and cook, tossing occasionally, until golden and crisp-tender, about 5 minutes. Add kale and stir, until they wilt, about 5 minutes. Push kale and radishes to one side of skillet. Pour remaining 1 teaspoon oil on the empty side and add sliced garlic. As soon as garlic starts to sizzle, stir it into vegetables. Remove pan from heat and add lemon juice to mixture; season with salt. Toss well.
3. Tear meatballs in half and add to skillet. Toss everything together and serve warm.
This recipe shouldn’t make any sense, but it does. It’s Bolognese, but it’s vegetarian. Oh, and there’s miso. And a loooot of vegetables. But the resulting sauce is so umami-laden that you won’t miss the meat, I promise. (Even Nishan, who counts a traditional spaghetti Bolognese among his favorite foods of all time, couldn’t get enough of this.)
Adapted from a Food & Wine recipe, I’ve played around with the vegetable proportions to my preference. Feel free to do the same.
Ingredients:
1/4 cup dried porcini mushrooms
5 tablespoons olive oil
1 small onion, cut into 1/4-inch dice
1 carrot, peeled and cut into 1/4-inch dice
1 small eggplant (8 ounces), peeled and cut into 1/4-inch dice
1 pound cremini mushrooms, 1/4 sliced, the rest cut into 1/4-inch dice
8 ounces shiitake mushrooms, stemmed, caps cut into 1/4-inch dice
Salt
Pepper
5 garlic cloves, minced
2 tablespoons tomato paste
1 1/2 tablespoons white miso
One 2-inch chunk of Parmesan cheese, plus grated cheese for serving
One 28-ounce can whole peeled tomatoes, crushed
1 thyme sprig
1/2 teaspoon sugar
12 ounces spaghetti
3 tablespoons chopped parsley
1. In a small bowl, cover the porcini with 1 cup of boiling water; soak until softened, about 30 minutes. Finely chop the porcini. Pour off and reserve 1/2 cup of the soaking liquid.
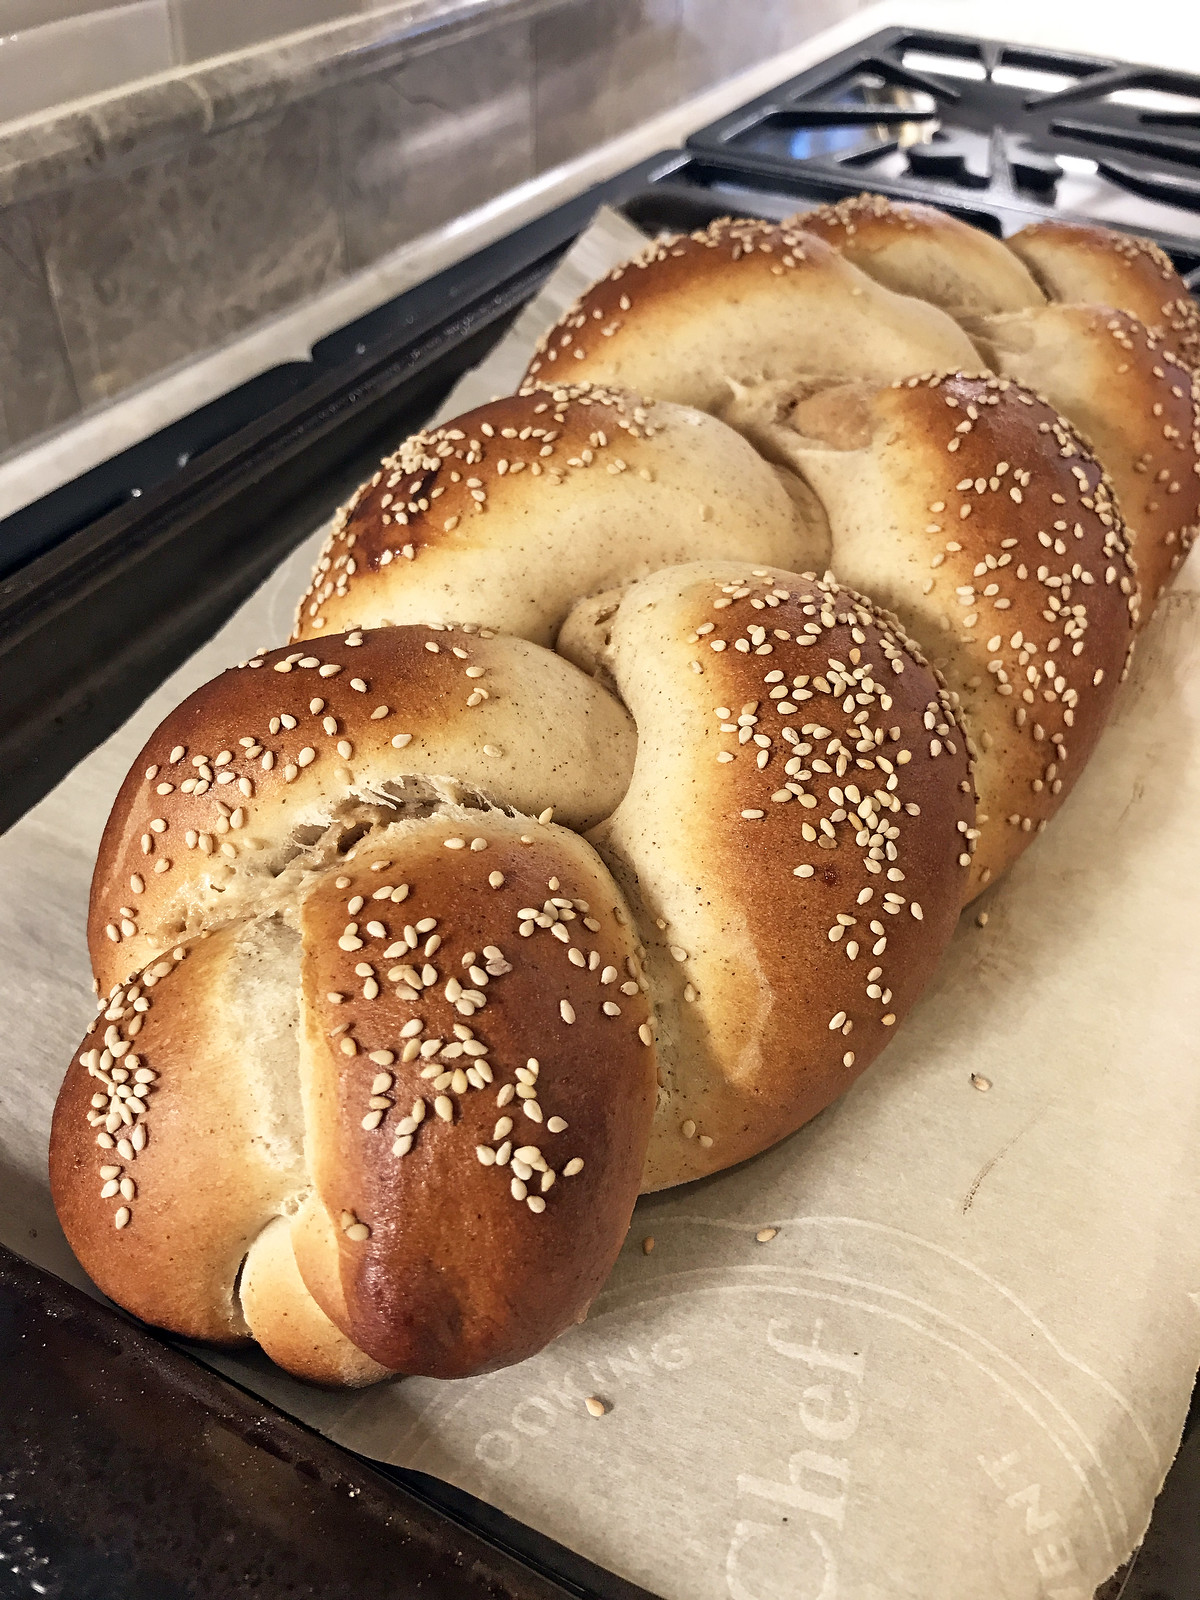
Growing up, one of my favorite after-school snacks was halvah rolled up with lavash flatbread: simple, sweet, and satisfying. Called halvardeh in Persian, Middle Eastern halvah is ubiquitous these days in well-stocked American grocery stores. But when I was a kid, halvah was precious: we’d make semi-monthly drives from Santa Rosa to San Jose to stock up on Iranian favorites, including halvah, sour cherry jam, lavashak (sour fruit roll ups), and spices and herbs for days.
This halvah-stuffed challah is a grown-up version of my childhood snack and make no mistake about it: this is a weekend project. Adapted from a Food and Wine recipe, this takes the better part of an afternoon to make, and the results are well worth it. This recipe makes two loaves so make like me and freeze one for eating later, when the craving strikes.
Ingredients:
1 1/2 cups warm water
1 1/2 tablespoons active dry yeast
1/3 cup plus 1 teaspoon sugar
5 eggs
1/2 cup canola oil
2 1/2 teaspoons vanilla extract
8 1/4 cups all-purpose flour
2 1/2 teaspoons ground cinnamon
1/8 teaspoon ground cardamom
1 cup tahini
1/3 cup plus 1 tablespoon honey
Salt
1 1/2 cups chopped halvah
Sesame seeds and more sugar, for sprinkling
1. Make the dough: In a small bowl, whisk the water with the yeast and 1 teaspoon of the sugar. Let stand for 10 minutes, until foamy.
2. In a medium bowl, whisk 4 of the eggs with the oil and 1 teaspoon of the vanilla. In the bowl of a stand mixer fitted with the dough hook, combine the flour, pinch of salt, 2 teaspoons cinnamon, 1/4 teaspoon cardamom and the remaining 1/3 cup of sugar. Mix to blend. Add the egg and yeast mixtures and knead until the dough comes together, scraping down the side and bottom of the bowl, about 3 minutes. Scrape the dough out onto a work surface and knead until smooth and slightly sticky, 8 to 10 minutes. Transfer the dough to an oiled large bowl and cover with wax paper and a towel on top.
3. Make the filling and topping: In a medium bowl, stir the tahini with 1/3 cup of the honey, the remaining 1 1/2 teaspoons vanilla, the remaining 1/2 teaspoon cinnamon, a pinch of salt, and 2 tablespoons of water until smooth. In a small bowl, beat the remaining egg with the remaining 1 tablespoon of honey and 1 tablespoon of water.
I grew up in Santa Rosa, ground zero for California’s 2017 historic fire season that wiped out so much of the city, county, and region last year. The neighborhood I grew up in was one of the worst hit. Months later, neighbors are coming back and there is no sound sweeter than that of rebuilding. Shout out to a resilient community.
By chance, I’d visited Santa Rosa the day before the fires, and my parents had sent me home with a huge haul of produce from their garden, as they always do. Apples, blood oranges, Asian pears, pomegranates, figs, Meyer lemons, persimmons, muscat grapes, Persian mulberries, Persian cucumbers, San Marzano tomatoes, sun gold tomatoes, Santa Rosa plums — I could go on and on. I’ve been very lucky to be eating farm to table well before the phrase ever entered the popular vernacular.
With the fire went the beautiful garden that my parents had lovingly built over the decades, and in the haze of the days that followed, I found myself with a bag of fruit that I didn’t want to eat. If I ate the fruit, the last vestiges of the garden I grew up in would vanish forever. But if I didn’t eat the fruit, it would, of course, go bad.
So I infused the fruit in bourbon. A year later, I realize that sounds strange, but in the moment, it felt like the right thing do to. And you know what? That infused bourbon made the best old fashioned I’ve ever had. It was bittersweet, but in a sense, it allowed the fruit to be frozen in time.
The apple and lemon and pear trees may be gone forever, but they can be replanted. They’ll grow and thrive again. And until they do, I have this recipe to remind me that there is joy to be found in all places, no matter the circumstance.
Ingredients for the infused bourbon:
Peel from 1 whole grapefruit
Peels from 2 Meyer lemons
2 pear cores
2 apple cores
One 750-ml bottle bourbon
Ingredients for 1 old fashioned:
1/2 teaspoon sugar
5 dashes of Angostura bitters
Ice
2 ounces infused bourbon
1/2 ounce water
Orange twist, for garnish
1. Make the infused bourbon: Combine all of the ingredients in a jar; cover. Let stand at room temperature for 10 to 12 hours. Strain the bourbon through 
a cheesecloth-lined fine sieve.
2. Make the old fashioned: In a rocks glass, muddle the sugar with the bitters. Fill the glass with ice and stir in the infused bourbon and water. Garnish the drink with an orange twist.